



Replacing e-bike brake pads is usually a small maintenance job. Buying the wrong pads, contaminating the braking surface, or forcing the pistons back incorrectly can turn it into a bigger one.
E-bikes do not all use the same brake pads. Match the replacement pad to the brake caliper model, pad shape and manufacturer specification first. For hydraulic disc brakes, the pistons usually need to be fully retracted before thicker new pads will fit. With hydraulic disc brakes, do not squeeze the brake lever while there is no rotor, pad spacer or appropriate bleed block between the pistons.
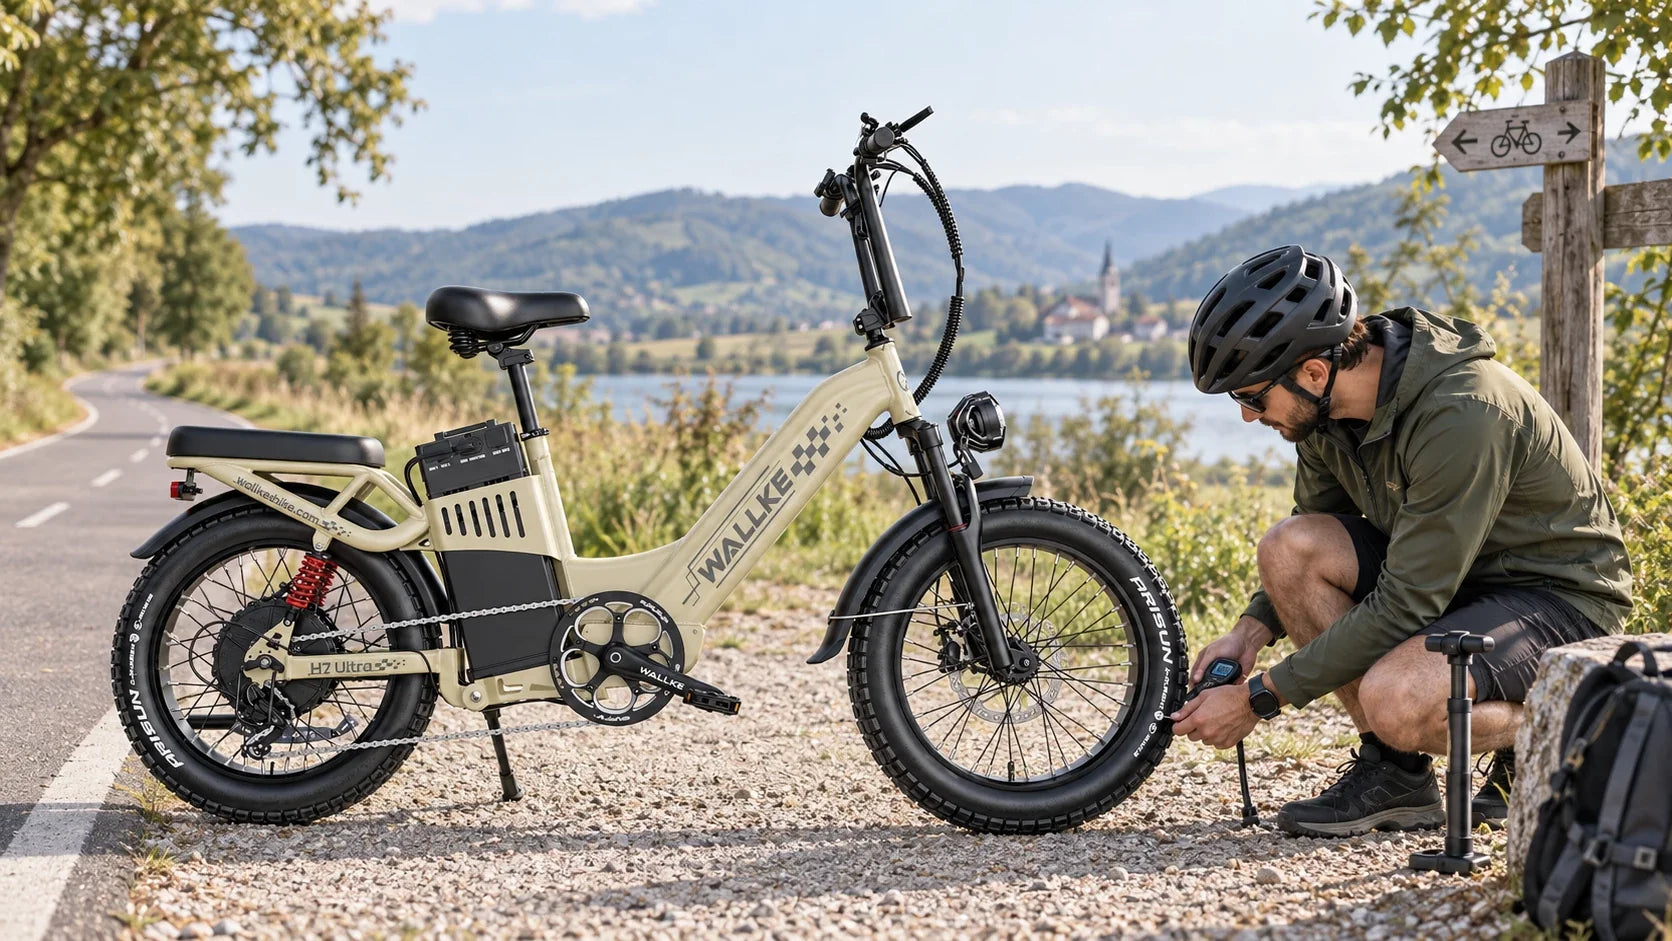
If you are maintaining one of Wallke's current electric bikes, check the exact bike version and brake system before ordering parts. Wallke owners can also start with the owner manuals for model-specific information.
- How to tell when e-bike brake pads need replacing
- How to identify the correct replacement pads
- Organic, semi-metallic and sintered pad differences
- Step-by-step e-bike disc brake pad replacement
- Rear brake pad replacement and common hydraulic problems
- Replacement cost and how often to inspect the pads
- When a bike shop is the safer choice
How Do You Know When E-Bike Brake Pads Need Replacing?
Do not wait for complete brake failure. Brake pads are wear items. The useful question is not simply how many kilometres you have ridden. It is how much friction material remains and whether the braking surface is still clean and usable.
| What you notice | What it may mean | What to do |
|---|---|---|
| Pad material looks very thin | Normal wear | Measure it and compare with the brake manufacturer's wear limit. |
| Metal-on-metal scraping | Pad material may be worn through | Stop riding and inspect the pads and rotor before using the bike again. |
| Braking feels weaker than normal | Wear, contamination, glazing, heat or another brake fault | Inspect the complete brake system rather than assuming new pads alone will solve it. |
| Persistent squealing | Possible contamination, glazing, alignment or pad compound issue | Check the pads and rotor for oil, grease and uneven contact. |
| One pad wears much faster than the other | Caliper alignment or piston movement may be uneven | Fix the cause before fitting another set. |
| Lever comes unusually close to the handlebar | Pad wear, adjustment issue or hydraulic problem | Inspect the system. A soft or spongy lever can require more than pad replacement. |
Heavy bikes, steep routes, cargo, frequent stop-start riding, wet weather and long descents can all increase brake wear. That is why a fixed replacement interval is less useful than regular inspection.
Do All E-Bikes Use the Same Brake Pads?
No. Brake pads are matched primarily to the brake caliper, not to the fact that the bike is electric. Battery voltage, motor power and wheel size do not determine pad compatibility.
Before buying replacement pads, identify:
- the brake brand;
- the exact caliper model or brake model;
- the shape of the existing pad;
- the retaining-pin or clip design;
- the recommended pad compound;
- whether the rotor has any pad-material restrictions.
Two pads can look similar in a product photo but differ in width, tab shape, spring design or braking-surface position. If you cannot identify the caliper, remove one old pad and compare the model marking and shape before ordering.
Hydraulic vs mechanical brakes: does that tell you which pad to buy?
Not by itself. Hydraulic and mechanical disc brakes operate differently, but pad compatibility still depends on the caliper design.
A hydraulic caliper uses pistons driven by fluid pressure. A mechanical disc brake normally uses a cable to move the braking mechanism. Both can use replaceable disc brake pads, but the correct pad shape must still match the specific caliper.
What about electric bike rear brake pads replacement?
The rear procedure is broadly similar to the front, but access can be tighter because of the drivetrain, motor cable, derailleur and rear wheel hardware.
Do not assume the front and rear pads are automatically identical. Many bikes use matching calipers, but some setups do not. Check both ends before ordering two sets.
Organic, Semi-Metallic or Sintered: Which E-Bike Brake Pads Are Best?
There is no single best pad for every e-bike. The best choice is the compatible compound that fits your riding conditions and rotor specification.
| Pad type | Typical strengths | Typical trade-offs | Often suits |
|---|---|---|---|
| Organic / resin | Quiet operation, good initial feel, usually gentle on rotors | Can wear faster in wet, gritty or high-heat conditions | Urban riding, lighter use, riders prioritising low noise |
| Semi-metallic | Balanced durability, noise and heat performance | Characteristics vary by manufacturer | Mixed everyday use |
| Sintered / metallic | Good durability and heat tolerance, useful in wet or demanding conditions | Can be noisier and may not be approved for every rotor | Long descents, heavier loads, wet or high-heat riding when compatible |
For a heavier fat tyre e-bike or an off-road e-bike, heat management and wet-condition performance may matter more than they do on a light city bicycle. But compatibility still comes first.
Tools You May Need
The exact tools depend on the brake. A typical e-bike disc brake pad replacement may require:
- the correct replacement pads;
- hex or Torx keys for the wheel, caliper or retaining hardware;
- needle-nose pliers if the brake uses a split pin;
- a plastic tyre lever or purpose-made piston press for hydraulic pistons;
- clean lint-free cloths;
- isopropyl alcohol suitable for cleaning the rotor;
- a work stand if available;
- the brake or bike manufacturer's service instructions.
Avoid oily cleaners, chain spray and general-purpose lubricants anywhere near the pad or rotor.
How to Replace E-Bike Brake Pads: Step by Step
The exact sequence varies by brake model. Use this as a general disc-brake workflow, then follow the service instructions for your actual caliper.
1. Power the e-bike down
Switch the electrical system off. If your manufacturer instructs you to remove the battery for maintenance and it can be done safely, do so.
Stabilise the bike before touching the wheel or brake.
2. Remove the wheel if the caliper requires it
Some pad designs can be accessed without fully removing the caliper, but wheel removal gives clearer access on many systems.
Before removing the rear wheel, note motor cables, torque hardware, washers and axle orientation. Do not pull or twist an e-bike motor cable.
3. Remove the retaining pin, bolt or clip
Disc pads may be held by a threaded pin, split pin, clip or a combination of parts.
Photograph the arrangement before removal if it is unfamiliar. Keep the spring and small retention parts clean.
4. Remove the old pads and inspect them
Look at both pads together.
- Are they worn evenly?
- Is one side much thinner?
- Is the surface oily or shiny?
- Is the backing plate damaged?
- Is the rotor deeply scored or visibly damaged?
If the wear is strongly uneven, do not simply install new pads and ignore the cause.
5. Retract hydraulic pistons before installing thicker new pads
New pads are thicker than worn pads. Hydraulic pistons may therefore need to be pressed back into the caliper body.
Use a purpose-made piston press or a clean, flat, non-marring tool that is suitable for the brake. Apply pressure carefully and evenly. If a piston resists normal, even pressure, do not force it back.
With hydraulic disc brakes, do not squeeze the brake lever while there is no rotor, pad spacer or appropriate bleed block between the pistons. The pistons can move too far out, making the new pads or rotor difficult or impossible to refit. In a worse case, a piston can be displaced far enough to create a hydraulic service problem.
6. Clean the caliper area and rotor
Keep grease, chain lubricant and dirty fingers away from the braking surfaces.
If the old pads were contaminated, identify the source before fitting new ones. Repeated contamination can point to an oil leak, careless lubricant overspray or another maintenance issue.
7. Install the new pads and spring
Fit the pad spring or clip in the correct orientation. Slide the new pads into the caliper without touching the friction surfaces.
Reinstall the retaining pin, bolt and safety clip exactly as specified for the brake.
8. Reinstall the wheel
Make sure the wheel is fully seated and any axle hardware is reinstalled correctly.
On a rear hub-motor e-bike, check cable routing and axle hardware carefully before riding.
9. Pump the brake lever and check alignment
For a hydraulic brake, pump the lever until the pads move back to their normal working position and the lever feels consistent.
Spin the wheel. The rotor should pass through the caliper without severe rubbing. Light contact can sometimes be corrected with caliper alignment. Persistent drag can point to alignment, piston or rotor issues.
10. Adjust mechanical disc brakes if needed
Mechanical disc brakes do not use hydraulic pistons in the same way. After fitting thicker new pads, you may need to reset pad clearance and adjust the cable, barrel adjuster or individual pad adjusters, depending on the caliper design. Follow the brake manufacturer's procedure rather than tightening the cable alone.
Spin the wheel again and confirm that the rotor runs freely enough while the brake still engages firmly.
11. Bed the new pads in
Fresh pads and rotors need controlled braking cycles to build an even transfer layer and reach normal performance.
Use the bedding-in procedure specified by the brake or pad manufacturer. Do not begin with a steep descent or maximum-speed emergency stop on brand-new pads.
What If the Piston Keeps Popping Out?
This is a common first-time replacement problem.
If the pistons move outward while the wheel or pads are removed, the first question is whether the brake lever was squeezed. If so, the pistons may simply have advanced because there was no rotor and pad stack to stop them.
Carefully retract them using the correct method for the brake. If a piston will not retract, moves unevenly, leaks fluid or has come unusually far out, stop. That is no longer a basic pad swap.
A hydraulic system that feels soft after the job may also require inspection or bleeding rather than repeated lever pumping.
Ebike Brake Pads Replacement Cost in Europe
There is no single Europe-wide price. Cost depends on the pad model, brake system, local labour rate and whether the job reveals another problem.
| Job | What usually affects the price |
|---|---|
| DIY pad replacement | Pad compound, brand, whether one or both brakes are being serviced, and whether you already own the tools |
| Bike-shop pad replacement | Parts plus labour per brake |
| Pad replacement plus brake bleed | Hydraulic fluid, bleed kit or workshop labour and system-specific service time |
| Pad plus rotor replacement | Rotor size, mounting standard, pad type and extra labour |
As a rough 2026 reference based on current European parts and workshop pricing, common replacement pad sets can cost from only a few euros to the low tens of euros, depending on model and compound. Workshop labour then adds to that. For a straightforward one-brake pad change, a total in roughly the €30-€50 area can be a reasonable reference point in some markets, but it is not a fixed European tariff.
If a shop quotes much more, ask what is included. Rotor replacement, caliper service, a hydraulic bleed, seized hardware or wheel-motor work can change the bill.
How Often Should You Change E-Bike Brake Pads?
There is no reliable universal kilometre interval.
Brake-pad life changes with:
- bike and rider weight;
- cargo;
- route gradient;
- how often you brake hard;
- wet, muddy or gritty conditions;
- pad compound;
- rotor size and heat;
- caliper alignment;
- riding speed and traffic conditions.
Inspect the pads periodically and follow the brake manufacturer's minimum thickness specification. Measuring actual pad material is more useful than replacing them on an arbitrary calendar schedule.
For a daily commuter e-bike, inspection frequency should reflect stop-start traffic and mileage. For riders using a mixed-surface or off-road e-bike, wet grit and long descents can justify more frequent checks.
Should You Replace Front and Rear Brake Pads at the Same Time?
Not automatically.
Replace the pads that have reached their wear limit or are contaminated. Inspect both brakes at the same time, but do not throw away a healthy set just because the other end needs service.
Front and rear wear can differ significantly. Riding style, weight transfer, terrain and brake balance all affect which end wears faster.
What Is the Difference Between Brake Pads and Brake Shoes?
Searches for e bike brake shoe replacement often mix two different systems.
Brake pads normally refer to the friction material used in disc-brake calipers. Brake shoes may refer to rim-brake blocks or the friction shoes used inside some drum-brake systems.
If your e-bike has a rotor attached to the wheel hub, you are looking for disc brake pads.
Do You Need an E-Bike Disc Brake Kit Instead of New Pads?
Usually not for normal wear.
An e bike disc brake kit may include a caliper, lever, hose or cable, rotor and mounting hardware. That is a much larger job than replacing pads.
Consider a full brake repair or replacement only when the existing system is damaged, incompatible with the intended setup, leaking, badly corroded, or being upgraded for a documented reason.
Do not use a full kit as a shortcut for a problem that has not been diagnosed.
Common E-Bike Brake Pad Replacement Mistakes
- Ordering pads from the bike brand name alone instead of checking the caliper.
- Buying a pad that looks similar but does not match the exact shape.
- Squeezing a hydraulic brake lever while there is no rotor, pad spacer or appropriate bleed block between the pistons.
- Touching the pad or rotor with oily fingers.
- Using chain cleaner or lubricant near the braking surface.
- Ignoring uneven pad wear.
- Forcing pistons back with a sharp metal tool.
- Installing pads but forgetting the retaining clip or pin.
- Skipping caliper alignment after installation.
- Riding hard before bedding the new pads in.
- Assuming noise always means the pads are worn out.
When Should You Take the E-Bike to a Bike Shop?
Searching for an ebike brake pad replacement near me makes sense when the job goes beyond a clean pad swap.
Use a professional workshop if:
- you cannot identify the correct pads;
- a hydraulic piston is stuck, leaking or has moved too far out;
- the lever feels spongy or inconsistent;
- the rotor is deeply scored, warped or below its service limit;
- new pads become contaminated again;
- the brake hose, caliper or lever is damaged;
- rear wheel removal involves unfamiliar hub-motor hardware;
- you cannot achieve a safe, firm brake after reassembly.
How to avoid feeling that the bike shop "took you for a ride"
Ask for a simple breakdown before approving extra work:
- Which pad model is being fitted?
- Is the price per brake or for both brakes?
- Are parts and labour both included?
- Does the rotor also need replacement? Why?
- Is a hydraulic bleed necessary, or is it optional?
- What fault was found beyond normal pad wear?
A clear diagnosis is more useful than choosing the cheapest quote.
Wallke Owner Note: Check the Exact Model Before Ordering
Wallke's European range includes different frame designs and use cases, so brake components can vary by model and production version.
Do not assume every model or production year uses the same brake pad. Use the brake caliper marking and your exact bike version. If the part cannot be identified confidently, check the Wallke owner resources or contact support with a clear photo of the caliper and existing pad before ordering.
FAQ
Do all e-bikes use the same brake pads?
No. Brake pads must match the brake caliper and pad shape. Bike brand, battery voltage and motor power do not determine pad compatibility by themselves.
How much does it cost to replace brake pads on an e-bike?
Cost varies by pad model and local labour rate. Pads themselves can range from a few euros to the low tens of euros for many common systems. A straightforward workshop replacement for one brake can fall around €30-€50 in some European markets, while bleeding, rotor replacement or caliper work costs more.
How often should you change brake pads on an e-bike?
There is no universal mileage interval. Inspect the friction material regularly and replace the pads when they reach the brake manufacturer's wear limit, become contaminated or are otherwise unserviceable.
What are the best brake pads for an e-bike?
The best pads are the ones that are compatible with your caliper and rotor and suit your riding conditions. Organic pads are often quieter. Metallic pads can offer better durability and heat tolerance. Semi-metallic pads sit between the two. Always confirm the brake manufacturer's approved pad options.
Can I replace e-bike brake pads myself?
Yes, if you can correctly identify the pads, safely remove and reinstall the wheel, retract the pistons when required and verify the brake works normally afterwards. If the system leaks, feels spongy or has a stuck piston, use a qualified workshop.
Why will my wheel not fit after installing new brake pads?
The new pads are thicker. On a hydraulic brake, the pistons may not have been fully retracted. If the brake lever was squeezed with the wheel removed, the pistons may also have advanced outward.
Do I need to replace the rotor when I replace the pads?
Not routinely. Replace or service the rotor only if it is damaged, worn beyond the manufacturer's limit, badly scored, contaminated beyond recovery or otherwise unserviceable.
Are front and rear e-bike brake pads the same?
Sometimes, but not always. Check the front and rear caliper models before ordering. Do not assume both ends use identical pads just because they are on the same e-bike.
Leave a comment