



Fat tire eBike tire pressure is not one fixed number. The right setting changes with the tyre, rider and cargo weight, road surface, temperature and how much grip or rolling efficiency you need.
If you are still choosing a bike rather than adjusting one you already own, start with Wallke's fat tire eBikes for adults or browse the wider electric bike collection. Tyre pressure matters, but tyre width, tread, total bike weight, suspension and your normal terrain matter too.
Fat Tire eBike Tire Pressure Chart
The chart below is a practical starting point for common 4-inch fat tyres. These figures are general starting points only. Any minimum or maximum pressure stated for the fitted tyre, rim or bike takes priority over this table.
| Terrain | Starting pressure | Approx. bar | What you are tuning for |
|---|---|---|---|
| Smooth roads / cycle paths | 16–20 PSI | 1.10–1.38 bar | Lower rolling resistance without making the ride excessively harsh |
| Firm gravel / packed dirt | 12–16 PSI | 0.83–1.10 bar | Grip, comfort and predictable steering |
| Rough trail / roots / loose ground | 10–14 PSI | 0.69–0.97 bar | More tyre compliance and traction while avoiding excessive squirm |
| Packed snow | 6–10 PSI | 0.41–0.69 bar | A larger contact patch and better flotation |
| Soft sand | 5–8 PSI | 0.34–0.55 bar | Maximum useful flotation without making the tyre unstable |
Why Fat Tyres Run at Lower Pressure
A 4-inch tyre contains much more air than a narrow commuter tyre. That larger air volume lets it support the bike at a lower pressure while still keeping its shape.
Lowering pressure increases the size of the tyre's contact patch. On loose ground, that can help the tyre float instead of cutting into sand or snow. It can also let the casing conform to gravel, roots and broken surfaces.
There is a trade-off. Lower pressure usually means more tyre deformation and more rolling resistance on hard surfaces. Higher pressure can feel quicker on tarmac, but too much pressure reduces comfort and can make a wide tyre bounce or skip over rough ground.
Fat Tire PSI by Weight: A Practical Tuning Guide
Rider weight matters, but there is no universal kg-to-PSI formula. The load on each tyre also includes the bike itself, cargo and how weight is split between the front and rear wheels.
Use the terrain chart as a baseline, then make small changes based on how heavily each wheel is loaded and how the tyre behaves:
| Load situation | Starting adjustment | What to watch for |
|---|---|---|
| Lighter solo load | Baseline first; if the ride feels unnecessarily firm, test about 1 PSI lower | Stop if steering becomes vague, the tyre squirms or rim protection is reduced |
| Typical solo load | Start at the terrain baseline | Fine-tune in 1 PSI steps |
| Heavier rider or moderate cargo | Test about 1 PSI higher on the more heavily loaded wheel | Useful if the tyre feels soft, slow or unstable under load |
| Substantial rear-rack or cargo load | Increase the loaded wheel in small steps rather than adding the same amount front and rear | Stay within all tyre, rim and bike limits |
This is a tuning heuristic, not a manufacturer specification. Tyre construction, rim width, wheel size, bike mass and front-to-rear load distribution can all change the correct setting.
Should the Front and Rear Tyres Use the Same PSI?
Not necessarily. On many eBikes, the rear wheel carries more static load because of the rider position, rear rack, battery placement or cargo. In that case, the rear tyre may need slightly more pressure than the front.
A simple starting method is:
- Set both tyres within the approved range.
- If the rear feels softer or bottoms out more easily, add about 1 PSI.
- If the front feels harsh or skips over loose ground, reduce it by about 1 PSI.
- Repeat until both tyres feel supported and predictable.
Do not chase a perfect front-to-rear formula. The correct split depends on where the bike actually carries its weight.
What About 20×4 and 26×4 Fat Tire Pressure?
Searches for 20×4 and 26×4 fat tire pressure often assume wheel diameter determines PSI. It does not.
A 20×4 and a 26×4 tyre can use similar pressure ranges, but the final setting depends on casing construction, rim width, total load, tread, tube or tubeless setup and the limits printed on that exact tyre.
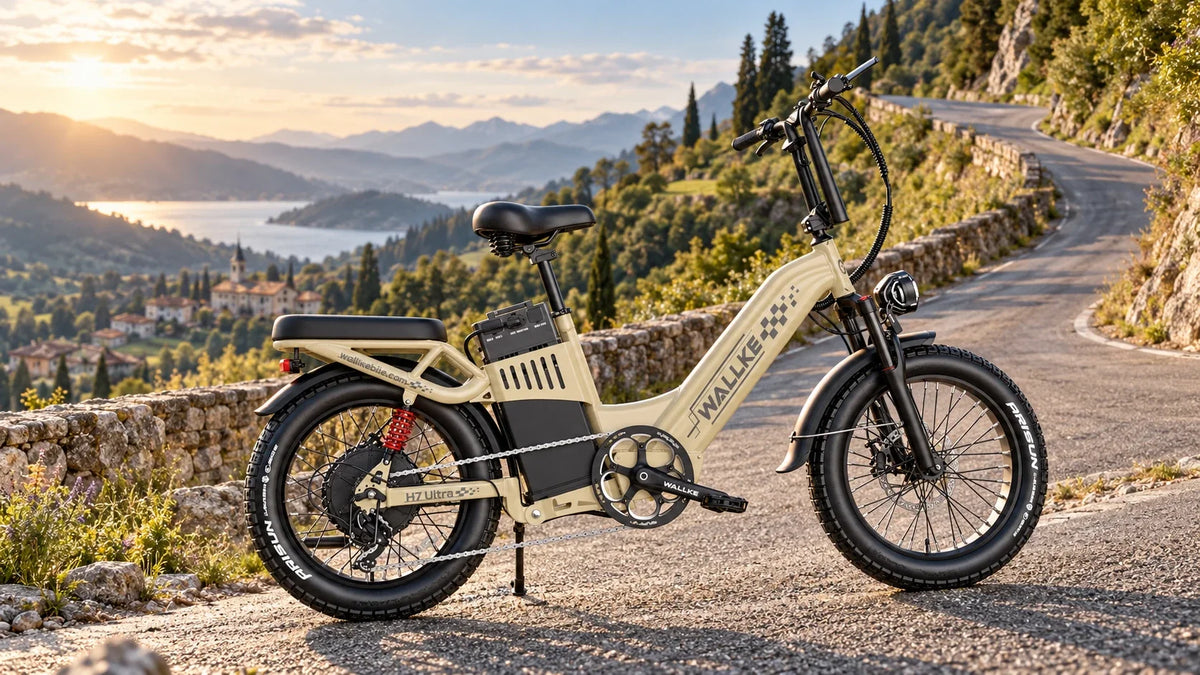
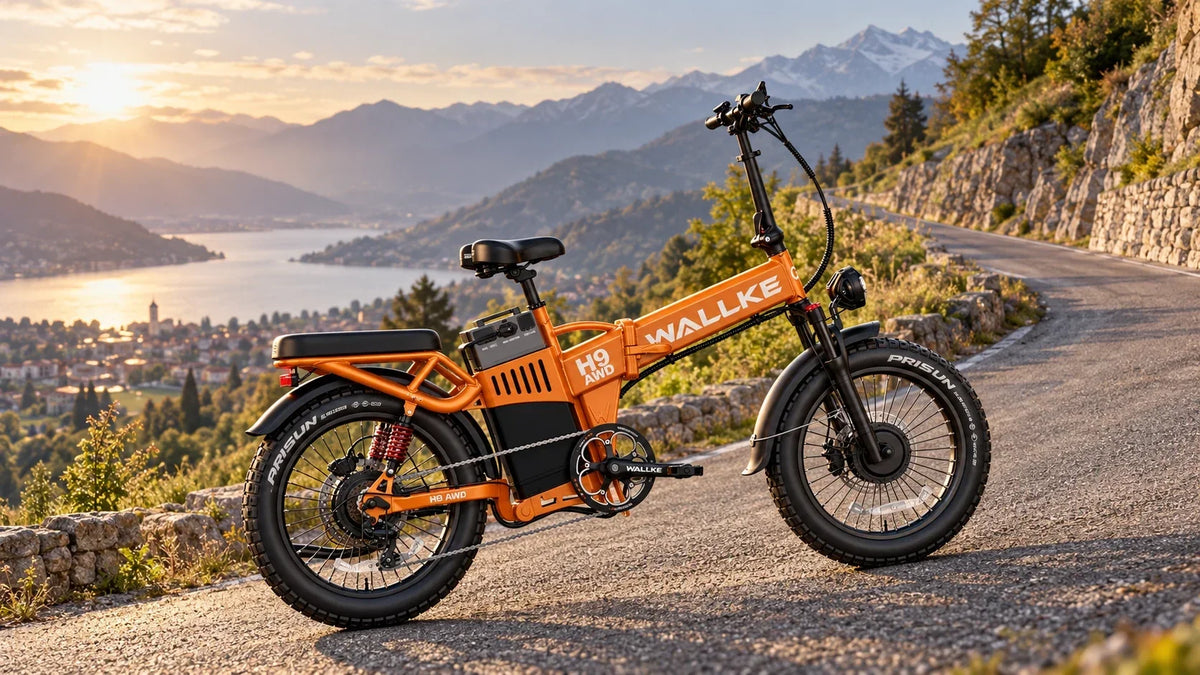
Current Wallke H7 and H9 European product pages list 20×4-inch fat tyres. For those bikes, use the marking on the fitted tyre and the current owner documentation as the limit. Do not assume that a number from a different 20×4 tyre automatically applies to your Wallke tyre.
How to Estimate Fat Bike Tire Pressure Without a Calculator
You do not need a universal fat bike tire pressure calculator to get close. Use this four-step method instead:
- Choose your terrain baseline. Start with the chart above.
- Adjust for total load. Heavier rider or cargo usually needs a little more pressure.
- Adjust front and rear separately. Add pressure where the bike carries more weight.
- Test in 1 PSI steps. Stop when the tyre feels supported without giving up unnecessary grip and comfort.
Example: a rider using a 4-inch fat tyre mainly on firm gravel might start around 14 PSI. If the rear carries panniers and feels soft in corners, the rider could test 15 PSI at the rear while leaving the front at 14 PSI. The final number still has to stay within the fitted tyre's approved range.
How Tire Pressure Changes Range, Grip and Comfort
| If pressure is... | Rolling efficiency | Grip / flotation | Comfort | Main risk |
|---|---|---|---|---|
| Higher within the approved range | Usually better on smooth hard surfaces | Usually lower on loose surfaces | Firmer | Harsh ride, reduced loose-surface grip |
| Lower within the approved range | Usually lower on paved roads | Usually better on sand, snow and rough ground | Softer | Tyre squirm, rim strike or pinch flat if too low |
Tyre pressure can also affect real-world battery range because it changes rolling resistance. It is only one variable, though. Speed, wind, temperature, rider mass, hills, assistance level and drive mode can have a larger effect. For more context, see Wallke's guide to real-world eBike range and battery claims.
Best Pressure for Paved Roads and Cycle Paths
For paved roads and cycle paths, start toward the upper end of the terrain-specific starting zone rather than automatically pumping to the tyre's printed maximum.
For many 4-inch fat tyres, around 16–20 PSI is a sensible test zone. Increase in small steps if the tyre feels slow and the ride remains controlled. Reduce pressure if the bike chatters over broken tarmac or loses confidence on loose corners.
If almost all of your riding is on smooth roads, consider whether a fat tyre is actually the best tool. A narrower, road-oriented tyre may reduce rotating mass and rolling resistance on smooth surfaces, depending on its construction and pressure. Wallke's commuter eBike collection is a useful comparison point if daily road use matters more than loose-surface capability.
Best Pressure for Gravel and Trails
Gravel rewards a middle setting. Too firm and the tyre skips across stones. Too soft and the bike can feel vague in turns.
Start around 12–16 PSI on firm gravel and 10–14 PSI on rougher trails, provided those numbers sit inside the tyre's approved range. Then tune in 1 PSI steps.
The correct number is the lowest pressure that still keeps the tyre stable, protects the rim and gives precise steering for your speed and load.
If rough tracks are a regular part of your riding, Wallke's off-road eBike collection is a more natural comparison point. Tyre pressure can improve grip, but it cannot turn an unsuitable bike or tyre into a technical-trail setup.
Best Pressure for Sand
Soft sand is where lower fat tyre pressure can make the biggest difference. More tyre deformation creates a larger footprint and helps the bike stay closer to the surface.
About 5–8 PSI can be a useful starting zone for a compatible 4-inch tyre on soft sand. Hard-packed wet sand may need more. Deep dry sand may remain difficult even with very low pressure.
Carry a gauge and pump. Reinflating before returning to pavement is important because a pressure that works on sand can feel slow and unstable on the road.
For beach-specific setup, access and salt-care advice, read How to Choose the Best Fat Tire E-Bike for Sand in Europe.
Best Pressure for Snow
Packed snow often benefits from lower pressure because the tyre can spread over a larger area instead of cutting down through the surface.
About 6–10 PSI is a reasonable starting point for many compatible 4-inch setups. Fresh deep snow may benefit from lower pressure, but only if the setting remains within the tyre and rim manufacturer's permitted range. Hard icy surfaces are different: tyre pressure cannot replace suitable tread or studded winter tyres where they are appropriate.
For a full winter setup, see Wallke's fat tire eBike for snow guide.
How to Check and Adjust Fat Tire eBike Tire Pressure
- Check the tyre sidewall first. Find the permitted pressure information and tyre size.
- Use a low-pressure gauge. A gauge designed for high-pressure road tyres can be hard to read accurately at 5–15 PSI.
- Measure before riding. Tyres warm up slightly during use, so a cold reading is easier to compare from ride to ride.
- Change only 1 PSI at a time. On a fat tyre, 1 PSI can be noticeable.
- Test both straight-line support and cornering. A tyre can feel comfortable but still be too soft under side load.
- Recheck after major temperature changes. Cold weather can reduce measured pressure.
Signs Your Fat Tire Pressure Is Too High
- The bike feels harsh on small bumps.
- The front tyre skips or deflects on loose gravel.
- Traction is poor on sand or snow.
- The tyre feels rounded and nervous rather than planted.
- You are close to the tyre's printed maximum without a clear reason.
Signs Your Fat Tire Pressure Is Too Low
- The tyre folds or squirms in corners.
- The steering feels slow or vague.
- The rim hits the ground or sharp obstacles.
- The tube suffers repeated pinch flats.
- The bike feels unusually slow on hard surfaces.
- The tyre bead appears unstable on the rim.
Is 40 PSI Too High for a Fat Tire eBike?
It can be. Forty PSI may be above the permitted maximum on some 4-inch bicycle fat tyres, but there is no universal maximum for every tyre sold as “fat”.
Do not inflate a fat tyre to 40 PSI simply because a standard eBike tyre uses that pressure. Check the exact tyre sidewall, rim limit and bike documentation. If 40 PSI is above any stated limit, do not use it.
Fat eBike Tyres vs Regular eBike Tyres
| Feature | Fat eBike tyre | Regular city / trekking eBike tyre |
|---|---|---|
| Typical width | About 3–5 inches | Usually much narrower |
| Operating pressure | Generally lower | Generally higher |
| Loose-surface flotation | Better potential on sand and soft snow | More likely to cut into soft surfaces |
| Rolling feel on smooth roads | Often more rolling resistance and tyre deformation | Usually more efficient |
| Weight / storage | Heavier and bulkier | Usually lighter and easier to transport |
Fat tyres make sense on an electric bike when flotation, stability and comfort on loose or rough surfaces matter more than minimum rolling resistance. They are not automatically better for a rider who spends almost every kilometre on smooth asphalt.
Common Fat Tire PSI Mistakes
- Using the sidewall maximum as the normal target. Maximum pressure is a limit, not necessarily the best riding pressure.
- Copying another rider's PSI. Their tyre, rim, weight and terrain may be different.
- Ignoring cargo. A loaded rear rack can change the pressure the rear tyre needs.
- Running sand pressure on paved roads. Reinflation may be needed before a long road section.
- Dropping pressure too far. More grip is useful only while the tyre remains supported.
- Checking by thumb. Fat tyres can feel “soft” even when correctly inflated. Use a gauge.
Frequently Asked Questions
What is the recommended tire pressure for a fat bike?
There is no universal PSI. For many 4-inch fat tyres, a useful starting point is around 16–20 PSI on paved roads, 12–16 PSI on firm gravel, 6–10 PSI on packed snow and 5–8 PSI on soft sand. Always stay within the minimum and maximum limits stated for the exact tyre, rim and bike.
What PSI should a 4-inch fat tire eBike use?
Start with the terrain and load. A 4-inch tyre might run in the high teens on paved roads and much lower on sand or snow. Rider weight, cargo, bike mass, load distribution, rim width and tyre construction can shift the correct number.
What is the recommended tire pressure for an eBike?
It depends on tyre size and construction. Narrow commuter eBike tyres often need much more pressure than 4-inch fat tyres. Use the exact tyre's approved range rather than a generic “eBike PSI”.
Is 40 PSI too high for a fat tire eBike?
It may be. Forty PSI may exceed the permitted maximum on some 4-inch bicycle fat tyres. Never inflate to 40 PSI unless the tyre, rim and bike documentation all permit it.
What is the correct 26×4 fat tire pressure?
There is no single 26×4 PSI. Wheel diameter does not set pressure by itself. Use the tyre's approved range and adjust for terrain, total load, rim width and casing construction. The same terrain-based tuning method used for 20×4 tyres also applies.
Why run lower tire pressure on a fat eBike?
Lower pressure lets the tyre deform more and increases its contact patch. That can improve comfort, grip and flotation on gravel, sand and snow. Going too low can cause tyre squirm, rim strikes or pinch flats.
Are fat tire eBikes harder to pedal?
They can be, especially without motor assistance. Wide tyres, heavier wheels and lower pressure can increase rolling resistance and overall bike weight. On loose terrain, however, the added flotation can make progress easier than with a narrow tyre that sinks into the surface.
How often should I check fat tire eBike PSI?
Check before rides where pressure matters, after major temperature changes, and whenever the bike has been stored for a while. Because fat tyres use low pressures, a small loss of 1–2 PSI can noticeably change handling.
Leave a comment