



European commuter guide · Practical daily checklist
Commuting on an e-bike should make everyday journeys easier, not create a complicated packing routine. Use this European e-bike commuting checklist to prepare the bike, protect it at work, plan realistic battery range and handle wet-weather rides.
Quick answer: The essentials for an electric bike commute are a bike suited to your route and local road rules, reliable brakes and lights, a correctly fitted helmet, a secure lock, weather protection, a way to carry your belongings and a bike-specific puncture kit. Before leaving, check tyres, brakes, wheel security, battery charge, lights and luggage. For a first commute, test the route and parking arrangements before a workday.
Go straight to the daily checklist ↓ · Estimate your commuting battery needs ↓
E-Bike Commuting Checklist: What to Check Before Every Ride
This checklist covers the night before, the 60-second safety check, the essential items to carry and a short weekly routine. Tick boxes on screen or print the checklist for your bike storage area. The boxes are interactive but do not save your choices after you leave the page.
Prepare · Inspect · Carry · Maintain
Night before
Before setting off
Carry on your commute
Weekly maintenance
Print tip: use your browser’s Print command (Ctrl+P on Windows or Cmd+P on Mac). The article stylesheet is set to show this checklist only within the article when printing; your store theme may still print its own header or footer.
Essential Gear for Electric Bike Commuting
Start with equipment that solves a daily problem. A heavier bag of gadgets is not automatically a safer or more reliable commuter setup.
| Priority | Item | What to check |
|---|---|---|
| Essential | Helmet | Proper fit and condition; follow the rules that apply in your country and to your vehicle category. |
| Essential | Front and rear lights | Charged, visible and never obscured by bags; check any national lighting requirements. |
| Essential | Strong lock | Fits the frame and fixed locking point; meets relevant insurance conditions. |
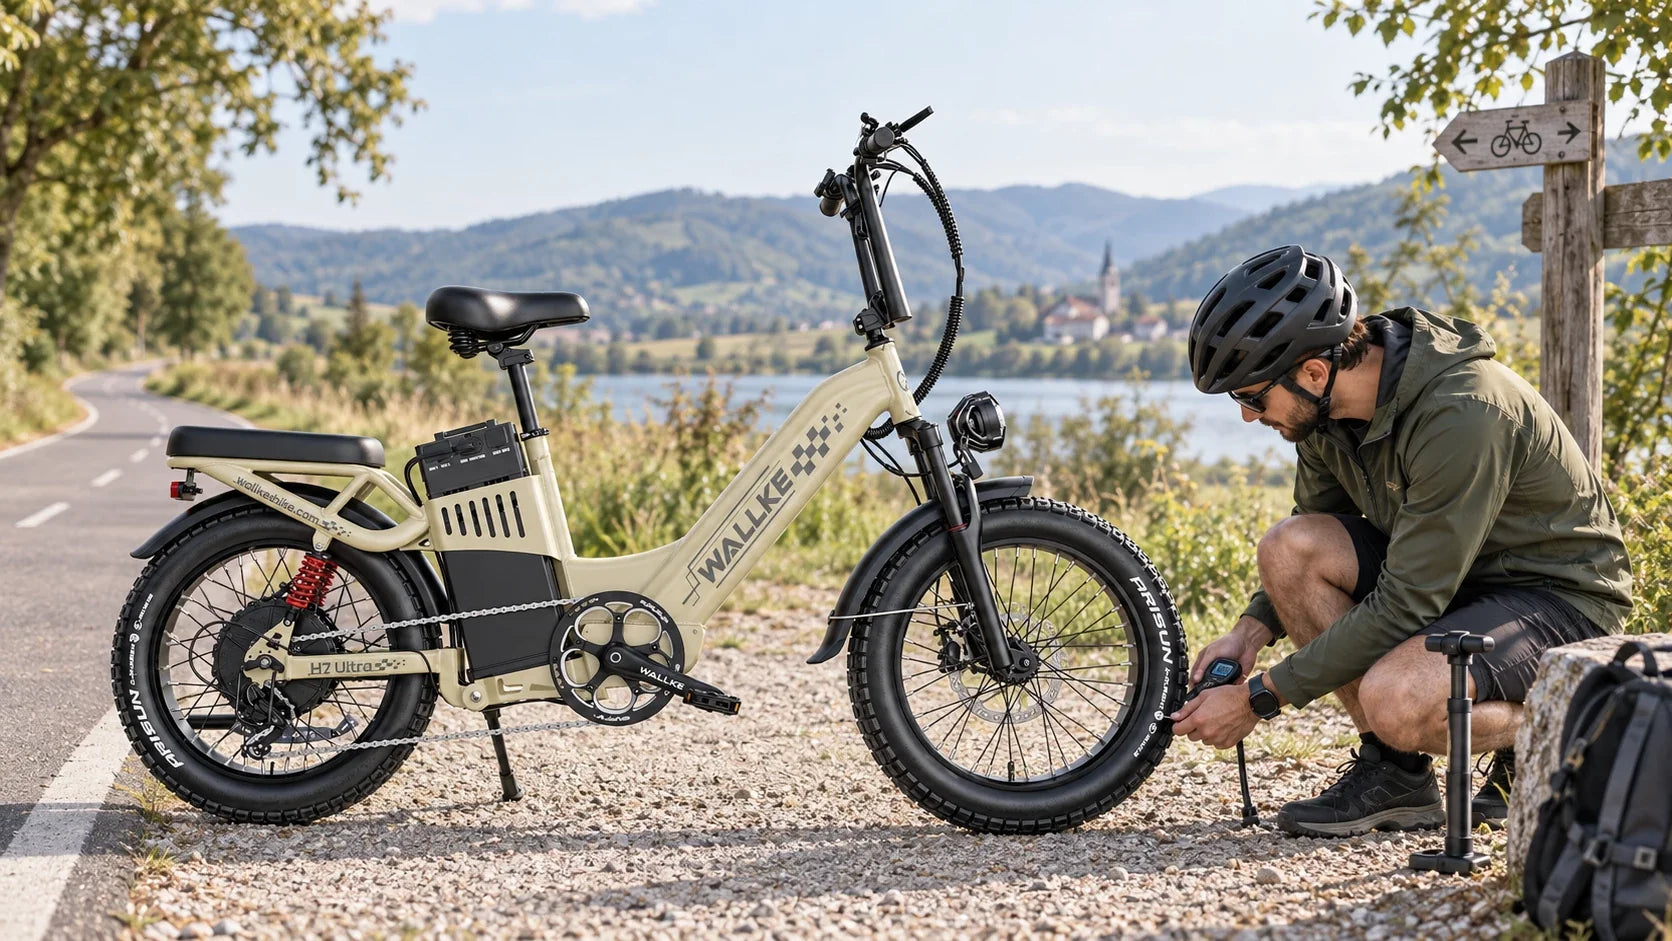
| Essential | Pump and puncture supplies | Correct valve, tyre or tube size and wheel-removal method. |
| Usually useful | Rack, pannier and mudguards | Secure load carrying, heel clearance and protection from wet-road spray. |
| Route-specific | Rain layer, gloves, reflective elements, mirror or bell | Choose for visibility, weather and the equipment rules on your route. |
| Optional | Phone mount, spare charger or second battery | Add only when a real route, charging or navigation need exists. |
Before buying a charger or component, confirm it is approved for your exact bike and battery. Start with Wallke’s accessories collection and the relevant manual; a similar-looking connector does not establish electrical compatibility.
How to Plan Your First E-Bike Commute to Work
Map the journey door to door, including time to unlock, park and walk to your destination. A shorter route is not always the most practical if it includes poor junctions, tram tracks, steep gradients or nowhere to lock the bike.
Choose a reliable route
Inspect crossings, cycle-lane continuity, cobbles, tram tracks, steep sections and winter lighting. Keep a backup route for closures and bad weather. Ride at a pace suited to traffic and surface conditions.
Plan parking before departure
Confirm a permitted fixed locking point at work, at home and at regular stops. Check whether your lock secures the frame as well as a wheel, and whether the insurer requires a particular lock standard.
Test the full routine
Ride the route with a typical work bag on a quiet day. Test hill starts, braking, doorways, lifts, the parking area and somewhere to dry wet clothing. Record real travel time, not just riding time.
Check train or tram connections
If your journey includes rail, bus or ferry travel, verify the operator’s current e-bike, folding-bike and battery policies. A folding frame does not guarantee the bicycle will be accepted or easy to carry.
Two common European city scenarios
Mostly flat urban riding, including routes in the Netherlands: prioritise effective locks, visible lighting, puncture protection and practical luggage. Measure actual storage space and check local bike-parking rules rather than choosing a bike only by motor output.
Mixed city routes, including commutes in Belgium: examine wet cobbles, crossings, tram tracks and changes in road surface along your specific route. Predictable braking, appropriate tyres and safe storage may matter more than a large battery on a short trip. These are illustrative route scenarios, not country-wide rules.
How Much E-Bike Battery Range Do You Need for Commuting?
Start with your round-trip distance. Include any detours and the distance to a place where charging is possible. Manufacturer range figures are not a substitute for checking real consumption on your own route: speed, headwinds, gradients, load, tyre pressure, temperature and assistance level all affect energy use.
Example: a 10 km ride to work
Suppose your commute is 10 km each way: that is 20 km per day, or 100 km across five workdays. The figures below are illustrative scenarios, not tested Wallke consumption data.
| Assumed consumption | 20 km daily trip | 100 km workweek | What it means |
|---|---|---|---|
| 12 Wh/km | 240 Wh | 1,200 Wh | A lower-consumption example; still leave a reserve. |
| 15 Wh/km | 300 Wh | 1,500 Wh | A middle planning example. |
| 18 Wh/km | 360 Wh | 1,800 Wh | An example with higher demand; check your real route. |
For comparison, a battery labelled 600 Wh has a nominal energy figure of 600 Wh. A 240–360 Wh daily example would represent roughly 40–60% of that nominal energy. It is not a promise of usable range: real accessible energy and performance vary with battery condition, temperature and the bike’s system limits. Keep a practical return-trip reserve rather than routinely arriving with almost no charge.
Practical method: track the energy used on several ordinary commutes if your bike displays it. If it does not, record the trip distance, assistance setting and battery indication as a rough reference, noting that percentage displays are approximate. Repeat in colder or windier conditions before deciding how often to charge.
E-Bike Commuting Safety: The Checks That Matter Most
The checklist above should take around a minute once you know the bike. A fast look is not enough if something feels wrong: stop and inspect it before joining traffic.
- Tyres: look for cuts, bulges, embedded debris and pressure loss; use the maker’s permitted pressure range.
- Brakes: both levers should feel predictable and stop the bicycle without excessive travel.
- Wheels: ensure axles and any quick-release mechanisms are secured as specified in the manual.
- Battery and electrical system: check the battery latch and any visible damage or unusual error messages.
- Lights and visibility: test both lights and ensure coats or panniers do not obscure them.
- Steering and cargo: check handlebars, cables, racks and bags for movement or interference.
- Low-speed test: check braking and pedal assistance in a safe place before entering traffic.
Do not ride with a safety-critical defect. A loose wheel, damaged fork or frame, compromised battery case, unreliable brake, bulging tyre, electrical smell or unexpected loss of control requires inspection before the next ride. Use the Wallke manuals and troubleshooting resources where relevant, and consult a competent mechanic for safety-critical repairs.
Protect your e-bike against theft
Choose a visible, permitted location with a fixed object designed for parking bicycles. Lock the frame securely; consider a second independent lock for a vulnerable wheel, and remove detachable valuables where practical. Avoid blocking pedestrian routes. Check insurer conditions before relying on coverage, especially for workplace or overnight parking.
Should you carry a full repair kit?
Carry a pump compatible with the valve, a matching tube or tubeless repair solution, tyre levers where appropriate, and a multitool suited to your fasteners. If wheel removal requires a particular tool, include it. A charged phone, payment method and fallback transport option may be more useful than trying to repair an electrical fault beside the road.
Commuting on an E-Bike in Rain and Cold Weather
Rain, grit, road salt and shorter daylight hours change the routine. You do not necessarily need a different bike, but you may need more visibility, grip and battery margin.
| Condition | Before the ride | During and after the ride |
|---|---|---|
| Heavy rain | Check tyre condition, waterproof layers, lights and luggage covers. | Brake earlier, avoid sudden steering on slick markings and dry the bike after parking. |
| Wet cobbles or tram tracks | Choose a safe crossing angle and a route suitable for your tyres. | Reduce speed and avoid sharp steering or hard braking while crossing tracks. |
| Cold wind | Wear suitable layers and allow extra battery reserve. | Assess actual consumption and follow the manufacturer’s battery temperature guidance. |
| Ice or compacted snow | Decide whether the route is safe; check compatible winter tyre options if applicable. | Consider alternative transport when grip is unreliable. Wide tyres alone do not solve ice. |
| Salt and road grit | Check brakes, tyres and visible corrosion. | Wipe down gently and follow the bike’s chain-care instructions; avoid pressure-washing bearings and electronics. |
For routes with frequent snow, see our fat tyre e-bike winter riding guide. It distinguishes traction on soft snow from the much harder problem of grip on ice.
Battery charging: use only the approved charger; inspect the battery, cable and connectors. Never charge a damaged, swollen, unusually hot or suspected water-damaged battery. Follow the manufacturer's charging-temperature limits, especially after a cold commute, and charge in a dry, suitable area away from heat and combustible clutter.
E-Bike Maintenance Checklist for Daily Commuters
Small preventive checks reduce the risk of being stranded on a weekday morning. Your bike manual remains the primary source for torque settings, service intervals and battery-system instructions.
| Frequency | Inspect | Action |
|---|---|---|
| Every ride | Tyres, brakes, wheel and battery security, lights and luggage | Correct problems before entering traffic. |
| After wet or salty rides | Frame, exposed metal, drivetrain and electrical connectors | Clean gently and dry; never pressure-wash sensitive parts. |
| Weekly | Tyre pressure and tread, pads, chain, racks, mudguards and visible fasteners | Clean, lubricate and replace consumables as the manual requires. |
| Monthly or sooner with heavy use | Drivetrain wear, wheel condition, rotors, cables and charger | Arrange specialist adjustment when needed. |
| At manufacturer service intervals | Full safety inspection and applicable electrical diagnostics | Keep maintenance records. |
Before relying on the bike for work, confirm that tyres, tubes, brake pads and other routine parts can be sourced. See the Wallke European warranty information; any commercial warranty terms are separate from statutory consumer rights where they apply.
E-Bike Commuting Rules in Europe: Check the Exact Vehicle
Europe does not have one universal set of rules for all e-bikes. In the EU, Regulation (EU) No 168/2013 excludes certain pedal-assist cycles from its vehicle type-approval scope. Article 2(2)(h) describes cycles with an auxiliary motor of no more than 250 W maximum continuous rated power, whose output is cut when pedalling stops and is otherwise progressively reduced and finally cut off before the bicycle reaches 25 km/h.
That exclusion is not a complete explanation of road-use permission. National and local rules may govern helmets, lighting, access to cycle paths, insurance, registration and other vehicle categories. The UK, Switzerland and other non-EU countries have separate legal frameworks.
Do not assume a 25 km/h speed setting makes every e-bike an ordinary EU pedelec. Motor rating, pedal-assist behaviour, throttle operation, supplied configuration and documentation all matter. If a throttle can propel the bike without pedalling, or the motor configuration is different, the ordinary-pedelec exemption may not apply. Confirm the exact version delivered and ask the seller for the relevant documentation before public-road use.
Consult the consolidated EU Regulation 168/2013 text (linked version dated 27 November 2024; check for later amendments) and the European Commission's cyclist-rule overview. Then verify current country, city and transport-operator rules that apply to your actual commute.
How to Choose an E-Bike for Commuting to Work
Start with the route and storage, not the largest advertised battery or motor. A good commuter should be easy to control at low speed, comfortable with your real luggage, straightforward to secure and realistic to service.
| Before buying, check… | Why it matters |
|---|---|
| Fit and handling | Standover height, reach, saddle adjustment and stable starts and stops with luggage. |
| Complete weight | Whether you can push, lift or store the bike safely, including stairs and any rail changes. |
| Tyres and brakes | Surface-appropriate grip, puncture protection, controlled braking and replacement-part availability. |
| Realistic battery reserve | Round-trip distance in poor weather, not just claimed best-case range. |
| Carrying capacity | Total permitted payload including rider, lock, laptop, bags and any other equipment. |
| Secure parking | Suitable locking points and realistic space at home and work. |
| Service and legal configuration | Manuals, parts, seller support and written information about the exact road-use category. |
What do torque and cadence sensors change?
Cadence-based assistance typically responds to pedal rotation; torque-based assistance responds to pedal force. Either can work for commuting, but test how naturally the bike starts, slows and manoeuvres near pedestrians. For a closer comparison, see torque sensor vs cadence sensor for e-bikes.
Where Wallke’s current models may fit
Explore the Wallke commuter e-bike collection, but compare the actual product weight, dimensions, battery variant and delivered road configuration before deciding. Wallke’s larger, wide-tyre models can suit riders with rougher surfaces or heavier loads; a lighter city bike may be more convenient when daily stairs or train changes are involved.
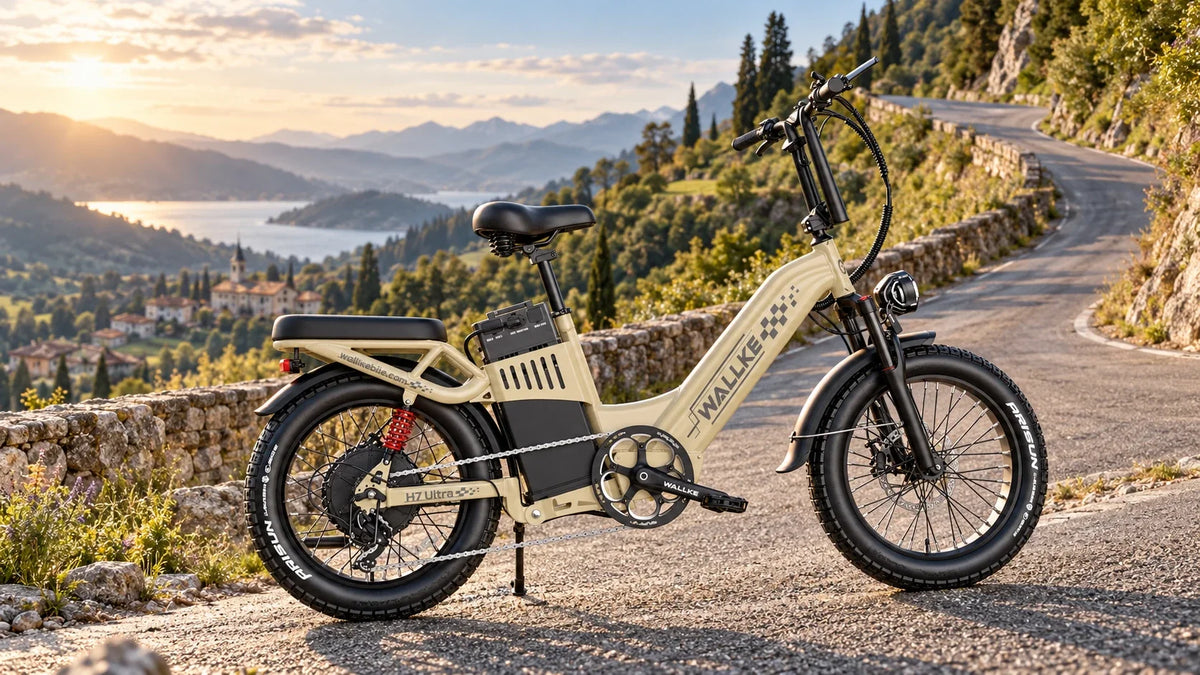
- Wallke H7 Step-thru: a step-through frame can make frequent stops and mounting easier. Check overall weight, storage dimensions and the exact supplied motor and throttle configuration.
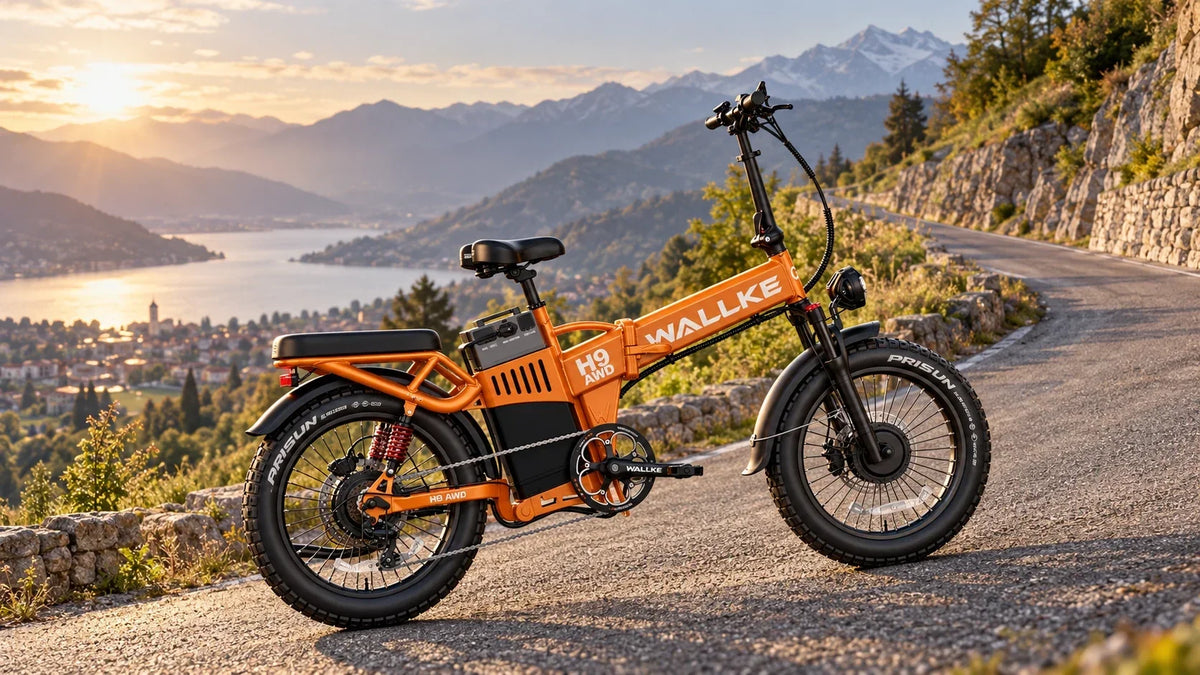
- Wallke H9 AWD: the folding frame may help with certain storage situations, but folding does not necessarily mean light or accepted by every public-transport operator.
Wallke configuration and road-use warning: H7 and H9 listings include motor and throttle configurations that should not be presumed to satisfy the EU ordinary-pedelec exemption. A displayed speed limit alone is insufficient evidence. Confirm maximum continuous rated power, pedal-assist cut-off, throttle function, the category of the precise delivered version and any required compliance documents with the seller and applicable local authority.
Frequently Asked Questions About E-Bike Commuting
What do I need to start commuting on an electric bike?
Start with a correctly fitted, road-appropriate e-bike, reliable brakes and lights, a properly fitted helmet, a quality lock, weather protection, secure luggage carrying and a compatible puncture kit. Test the route and parking routine before making the bike your daily transport.
How do I prepare an e-bike for a daily commute?
Check your route and battery needs the night before. Before each ride, inspect tyres, brakes, wheels, steering, battery security, lights and baggage. Test braking and assistance at low speed before entering traffic.
How much battery range do I need for a 10 km commute?
If 10 km is the one-way distance, plan for a 20 km round trip. In an illustrative 12–18 Wh/km scenario, that would use 240–360 Wh; actual use depends on the bike, weather, terrain, load and assistance. Record consumption on your real route and keep a reserve.
Can I commute by e-bike in the rain?
Many e-bikes can be used in ordinary wet conditions within the manufacturer’s limits, but rain increases braking and visibility demands. Check tyre grip, lights, waterproof luggage and protective clothing. Avoid flooded routes and riding or charging a battery with suspected water damage.
What is the best way to prevent e-bike theft at work?
Use a secure, permitted parking area and a quality lock around the frame and a suitable fixed object. Consider a second lock for vulnerable parts and take detachable valuables with you when practical. Follow any insurer-specific locking requirements.
Can I bring an electric bike on a train in Europe?
Rules vary by country, train operator, service and bike category. Some services impose size limits, require reservations or distinguish between folding and full-size bikes. Verify the operator’s current e-bike and battery policy before travelling.
Are all 25 km/h e-bikes legal on European cycle paths?
No. A displayed 25 km/h setting alone does not establish the vehicle category or permission to use a cycle path. Motor rating, assistance behaviour, throttle function and applicable national or local rules can change how a bike is classified and where it may be used.
How often should I service a commuter e-bike?
Carry out a brief safety check before each ride, inspect tyre pressure, brakes, chain and fixings regularly, and follow the manufacturer’s formal service intervals. Wet, salty and heavy-use conditions may justify more frequent attention.
A Reliable E-Bike Commute Starts With a Repeatable Routine
You do not need every accessory or the most powerful motor. You need a suitable, correctly configured bike, realistic battery planning, predictable braking, safe parking and a short daily checklist you will actually use. Begin with the printable commuter checklist, test your real route and adjust your setup based on what the journey demands.
Leave a comment